User Groups
Guide for creation of User Groups
Why are User Groups needed?
Avni users can be grouped into different Users Groups based on their roles and responsibilities and different permissions can be given to them. It ensures that users have the right access levels to perform their tasks effectively while maintaining data integrity:
- Role-based Access Control: User groups ensure each user gets permissions suited to their role. For example, field workers, supervisors, and administrators may need different access levels.
- Permission Management: Instead of setting permissions individually, administrators can manage them for entire groups, reducing errors and saving time.
- Enhanced Security: User groups help to define which group can access certain data or perform certain activities in the Avni app like registration, enrolments, edits, and canceling the visit. This
- Customization and Flexibility: User groups allow for tailored permissions based on specific user roles. A user can have multiple user groups assigned based on their area of work.
- Scalability: As organizations grow, user groups can adapt to changes in roles and responsibilities, keeping the app aligned with evolving needs.
Special kind of User Groups
There are 2 User Groups that are automatically created when an Organisation is created. They are:
- Everyone: Default group to which all Users of an Org will always belong to.
- Administrators: A group which would always have all privileges.
Steps to Create User Groups:
Before creating Users & Catchment, the first step is to create User Groups. Different user groups can have different permissions depending on the roles and responsibilities. Eg. in a project, there are Field Workers who would be using the Avni app, we can create a user group called “Field Workers”
- Login to Avni Web Console
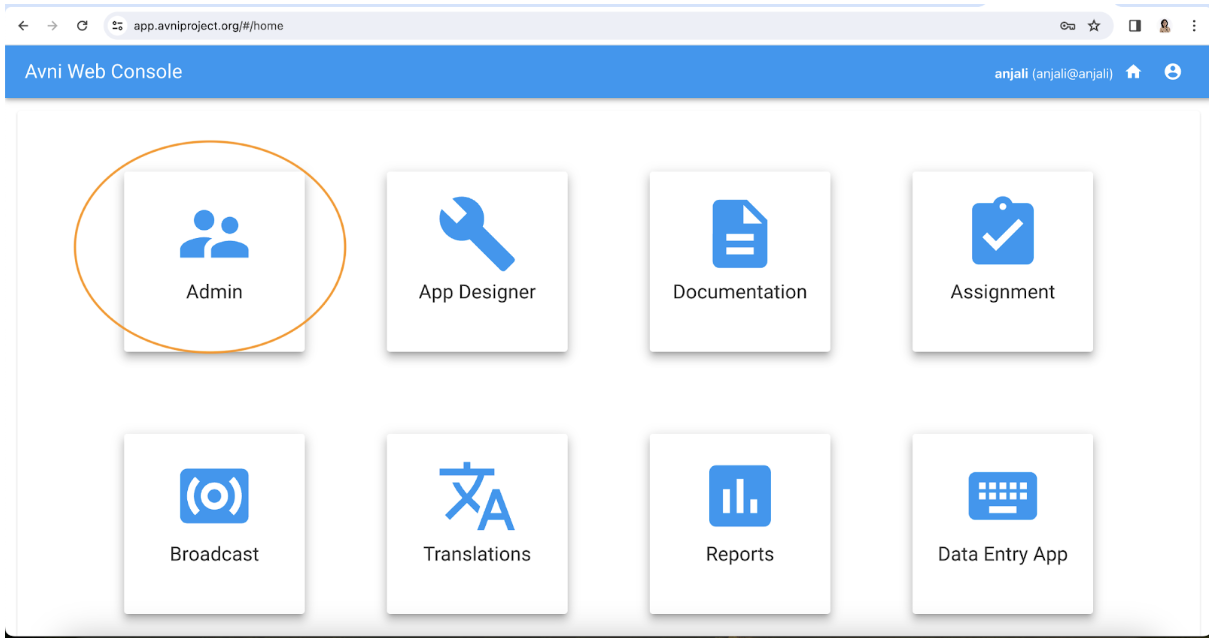
- Go to Admin
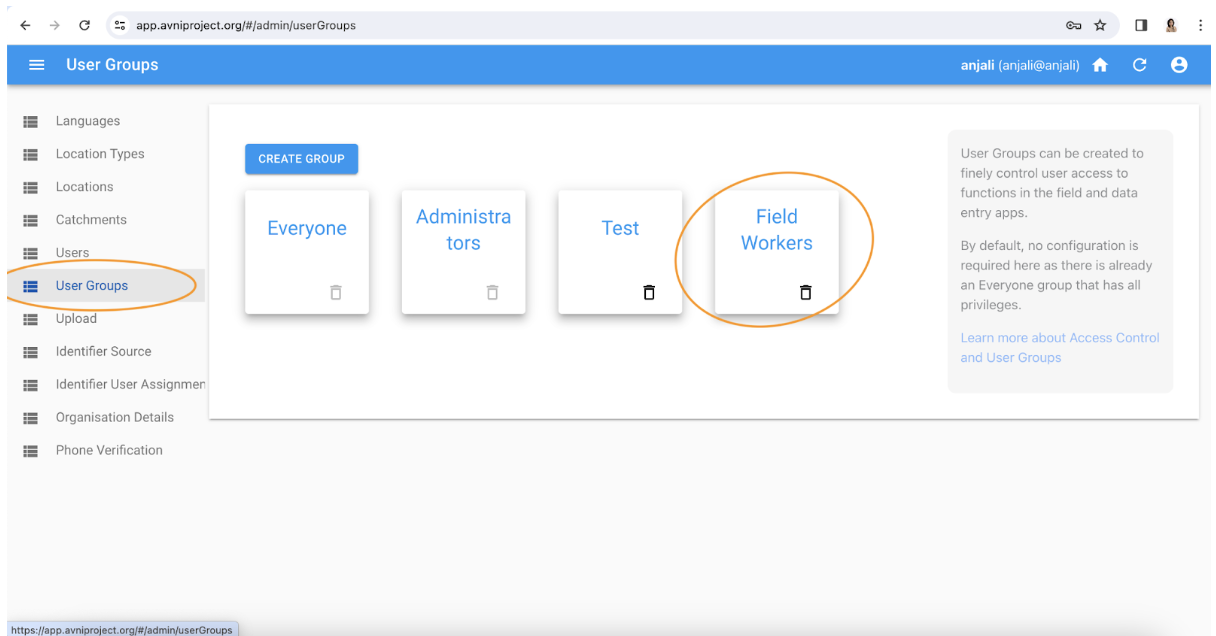
- Click on User Groups:
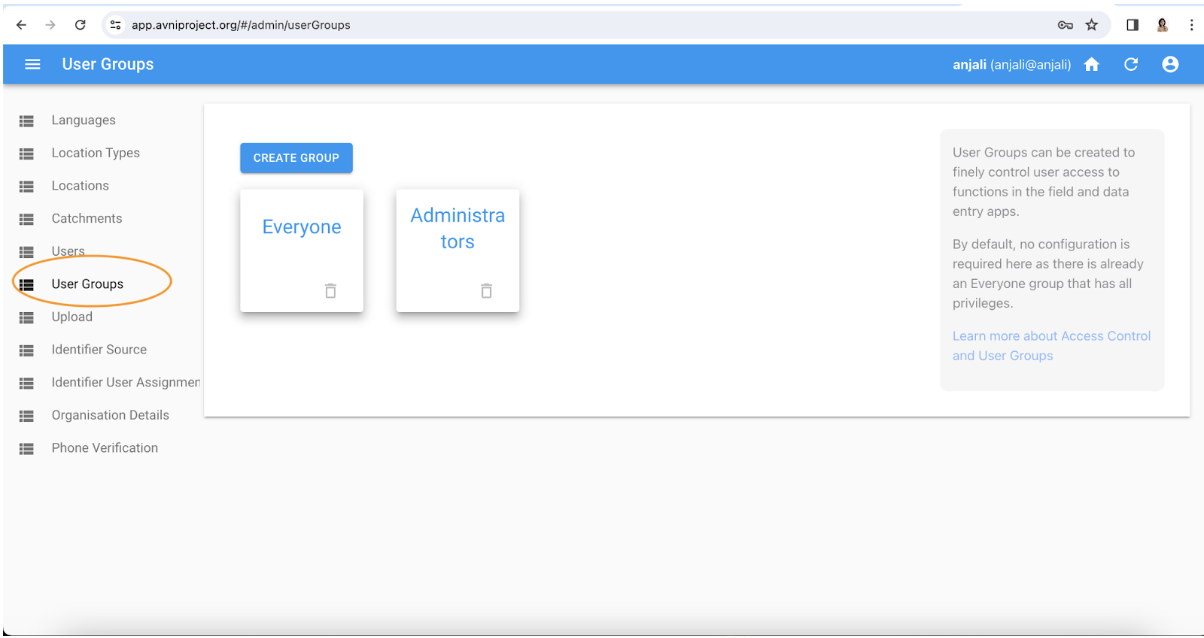
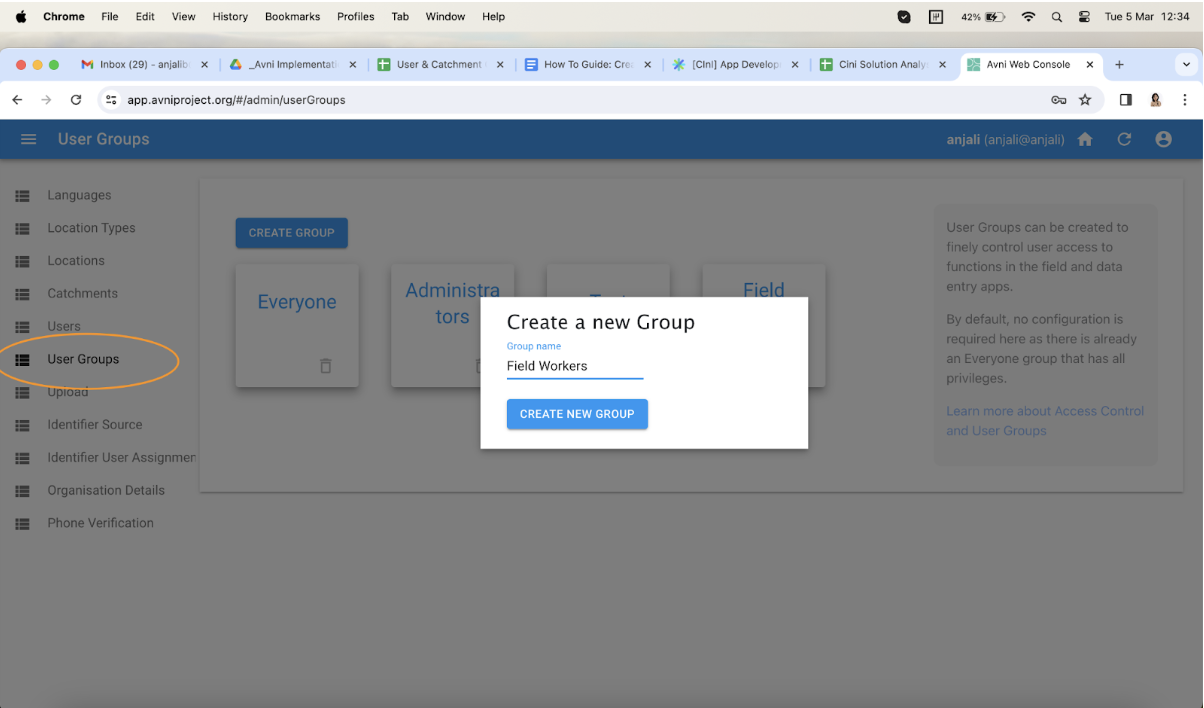
- Click on Create Group
Enter the Group name and click on the CREATE NEW GROUP button
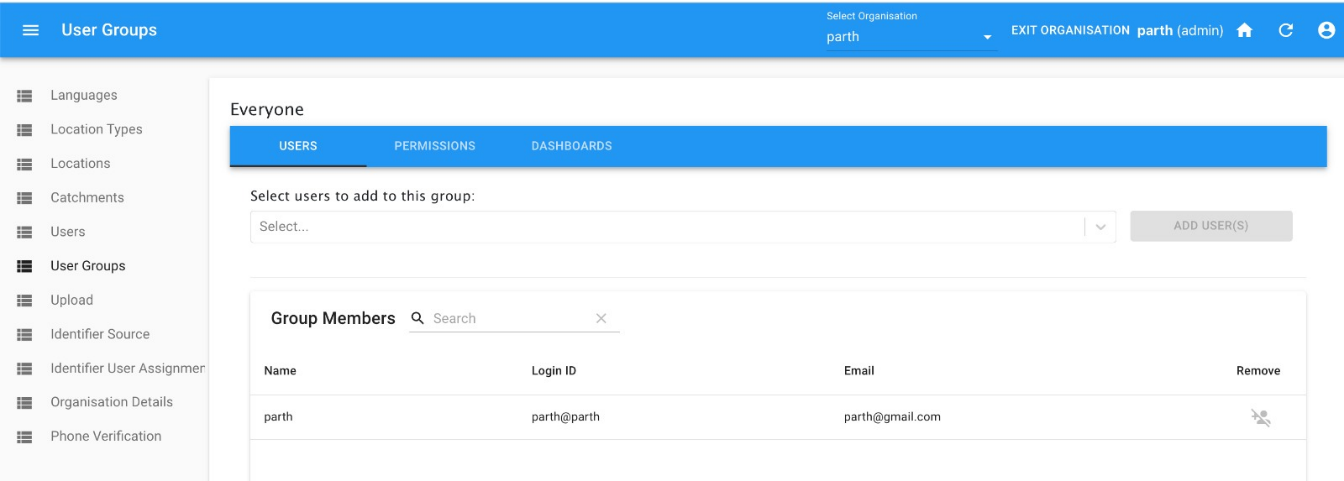
- Configure Group Users By clicking on the respective user group, the list of users who are part of the user group is shown along with the permissions given to the user group. User group will show the list of users who are part of this user group along with the user id and registered email.
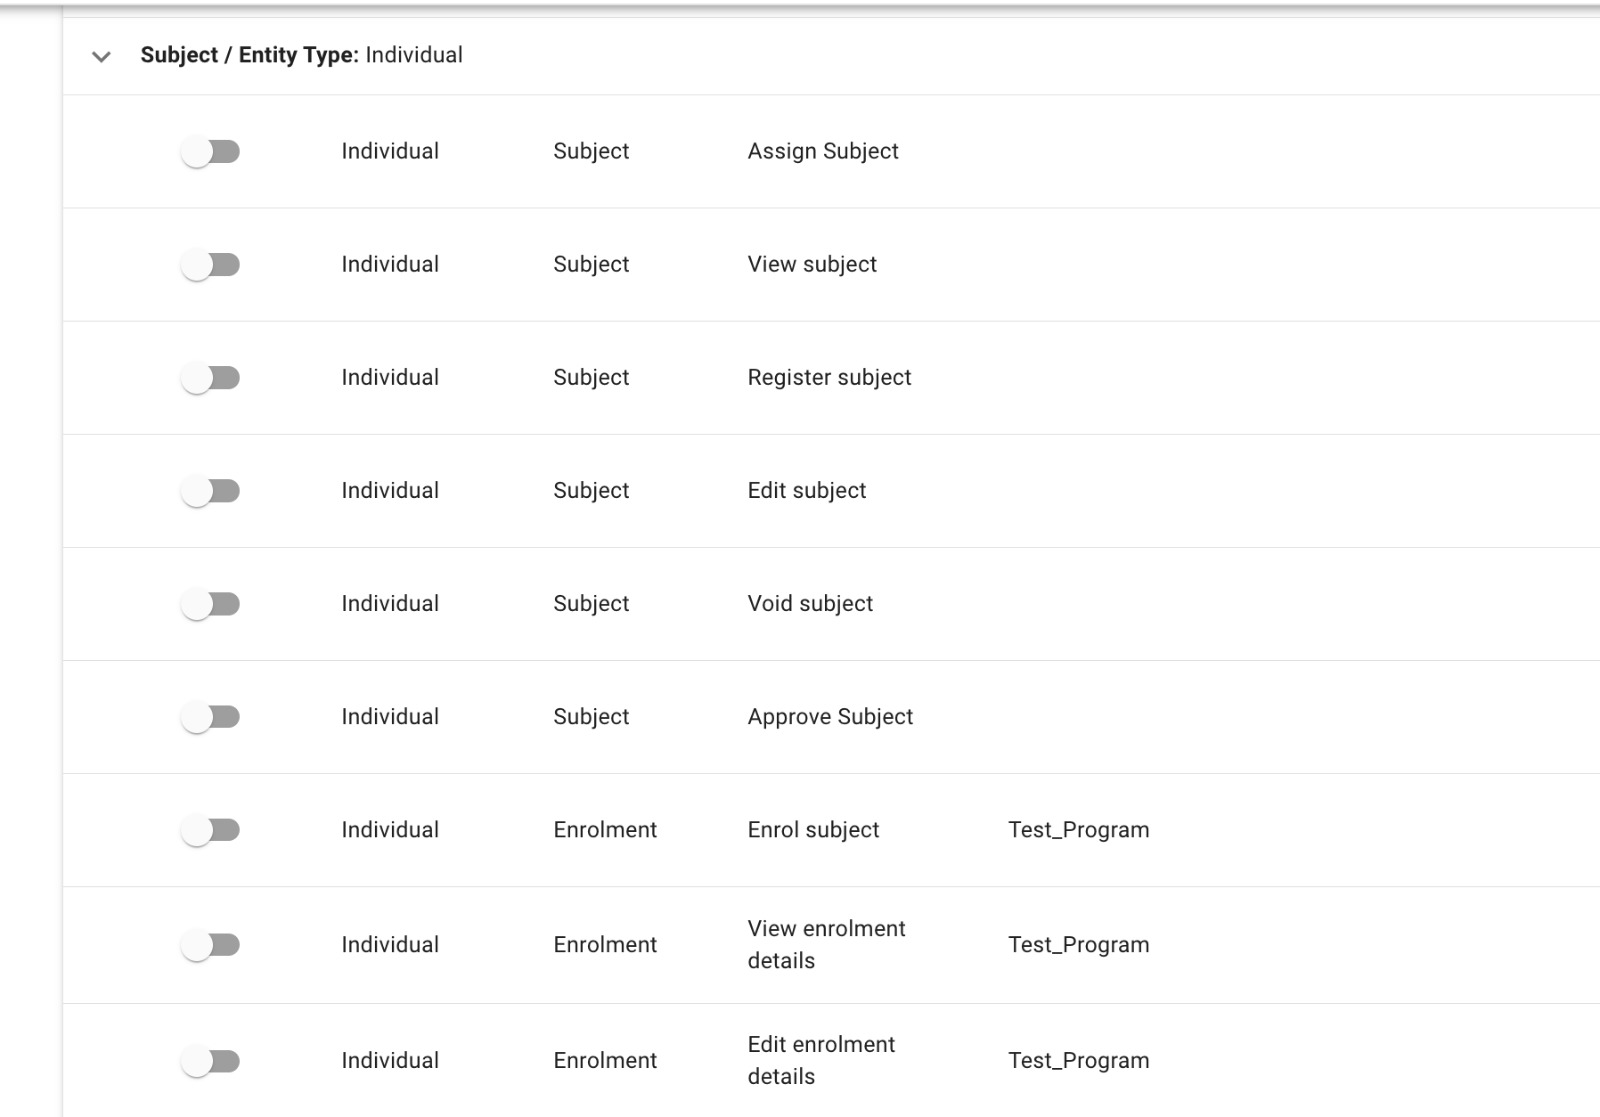
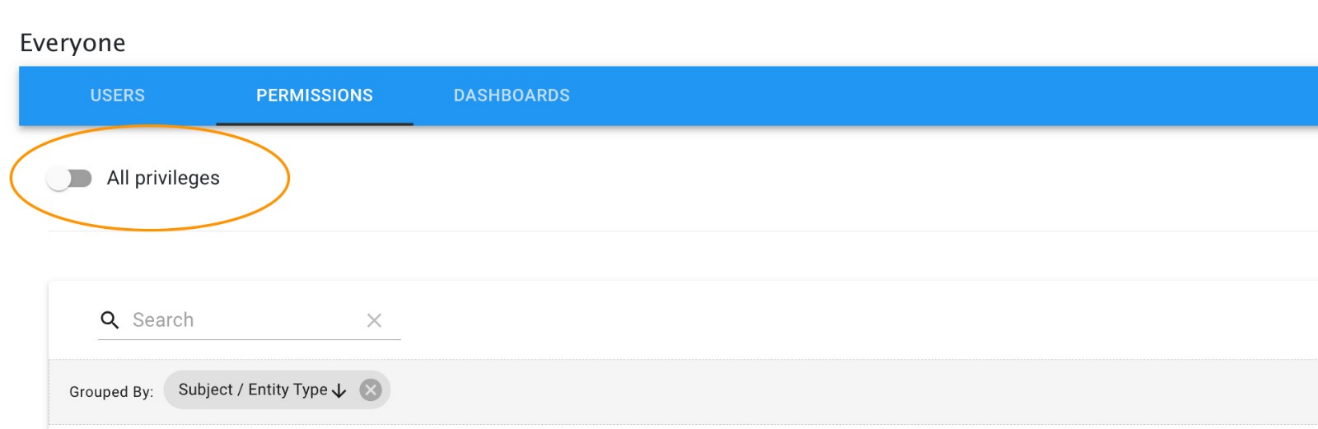
- Configure Group Permissions: The permissions section contains a list of permissions which are grouped by subject/entity type. When a subject/entity type is expanded, it will display permissions specific to the subject/entity type like edit, view, perform visit, schedule visit, void any visit or subject registration, cancel visit.
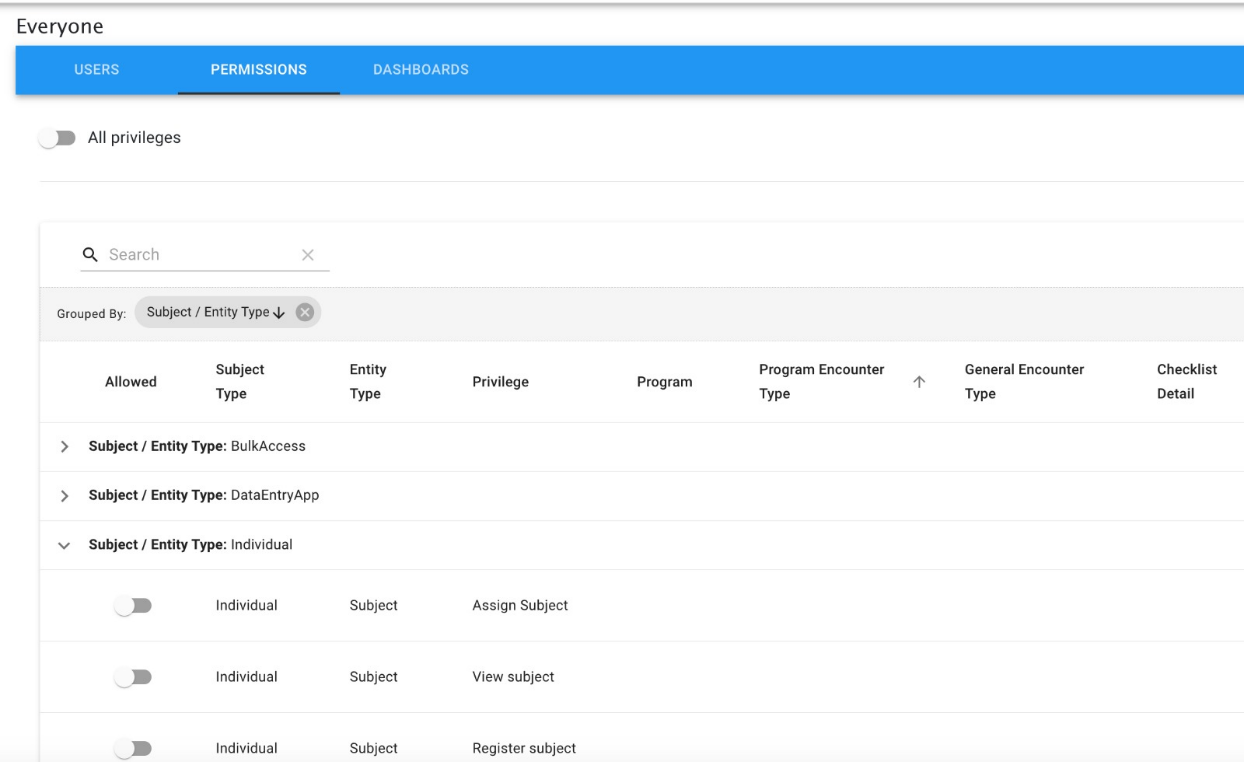
As shown in the screenshot below, “all privileges” will provide all the permissions and accesses to the entire user group.
When a user is assigned to 2 or more user groups, the union of permissions provided to the assigned user groups will be accessible. (For example, edit access permissions disabled for a form in one user group and enabled in another user group will allow the user to edit that form)
- Configure Group Dashboards: This section in user groups allows users to add and provide permission to access the dashboard in the mobile app. Here multiple dashboards added to the user groups will be synced as per the user groups assigned to the user. Out of the dashboards added, primary and secondary dashboards can be defined which would be shown on the user’s mobile screen immediately after logging in. (Refer to the screenshot below)
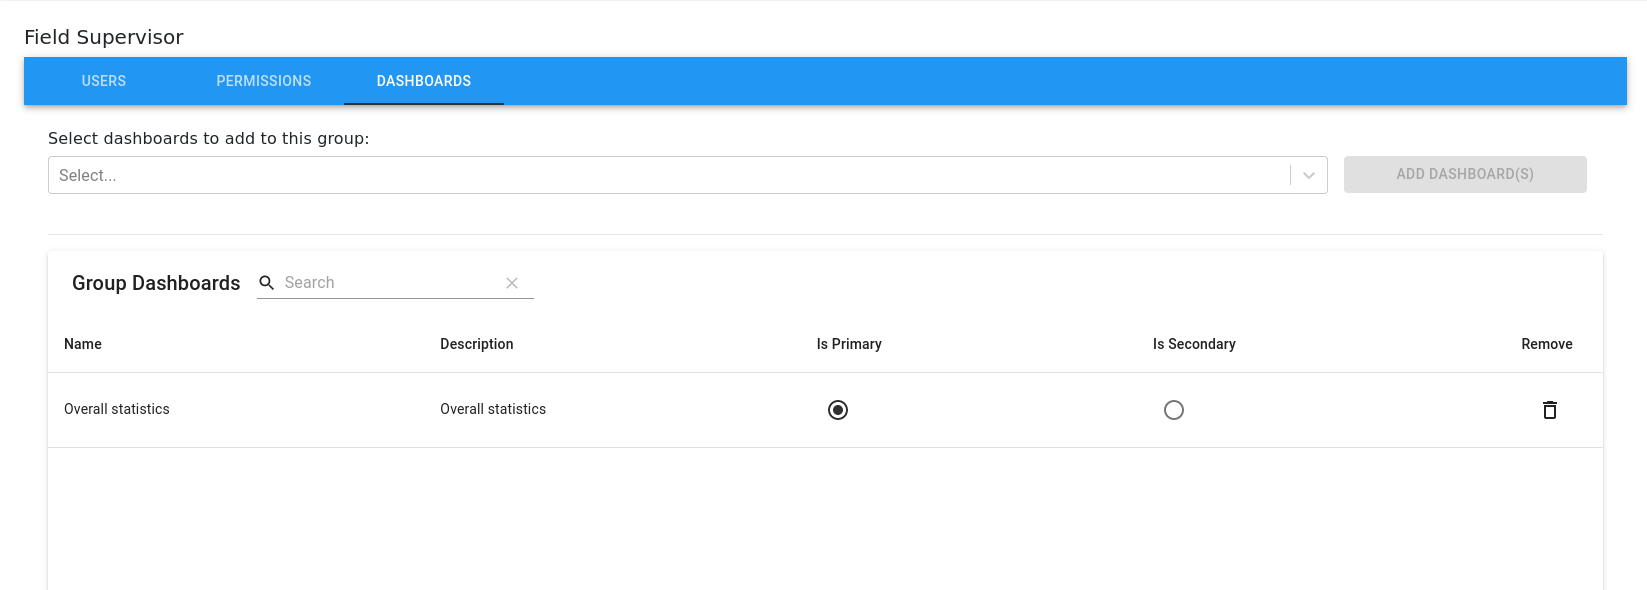
Refer to Offline Report Cards and Custom Dashboards section for more details regarding this.
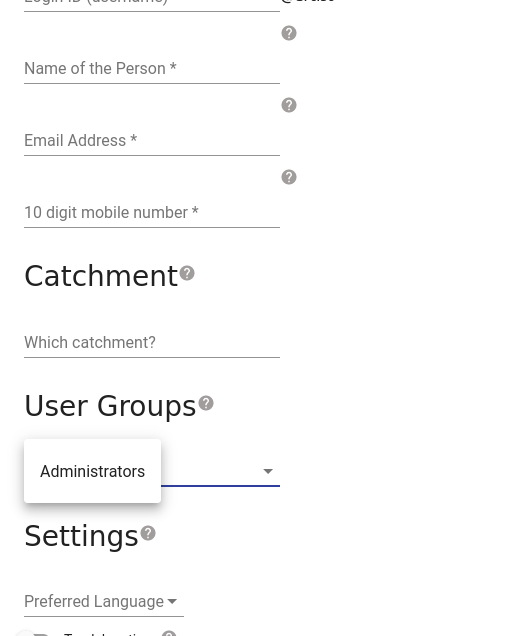
Assign User Groups while creating Users
Once the user groups are updated with the necessary details given above, it should be used while creating users via the Admin -> Users screen.
Updated 7 months ago