How to guide: Upload Location CSV
A brief overview:
Locations are geographical units which could be a state, district, village, slums and so on where the organisation provides services.
Location hierarchy, reflects the hierarchy of the locations in which services are provided. Examples of location type are State, District, and Village. Each location type has a level. A level is a number. Higher-up location types will have a higher number. So the state, district, and village will have numbers 3,2,1 respectively.
Steps to create Locations
Location Master data upload steps: In order to start with the location upload in the Avni admin console, User needs to enter Location Types in the admin console.
- Login to Avni Web Console
- Goto Admin
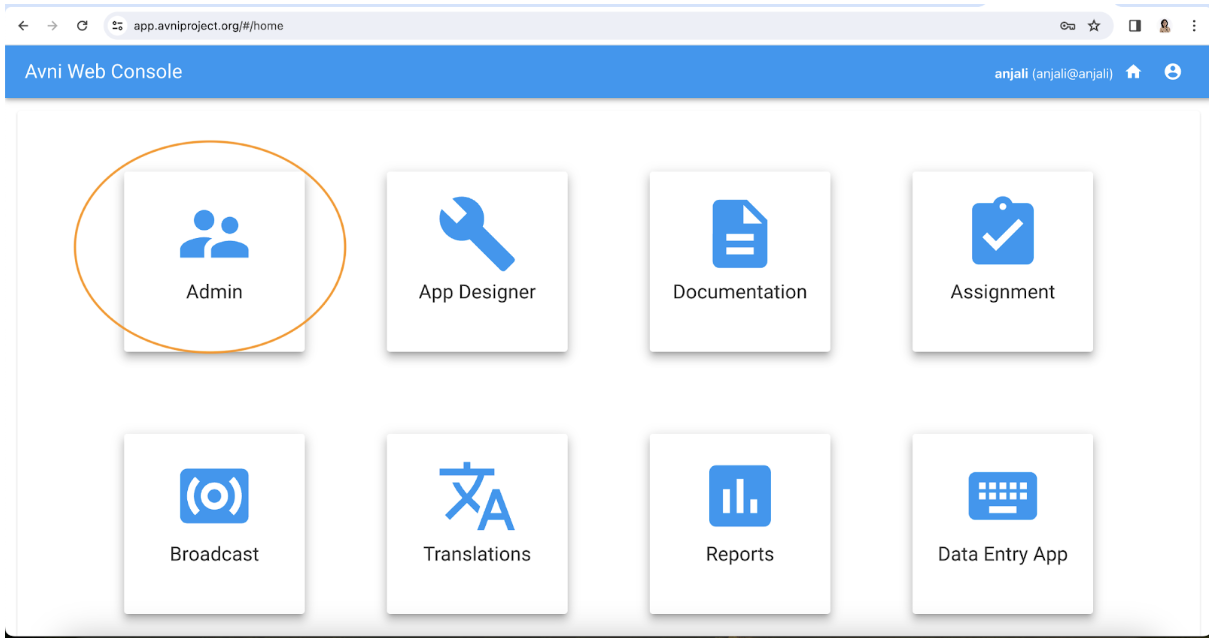
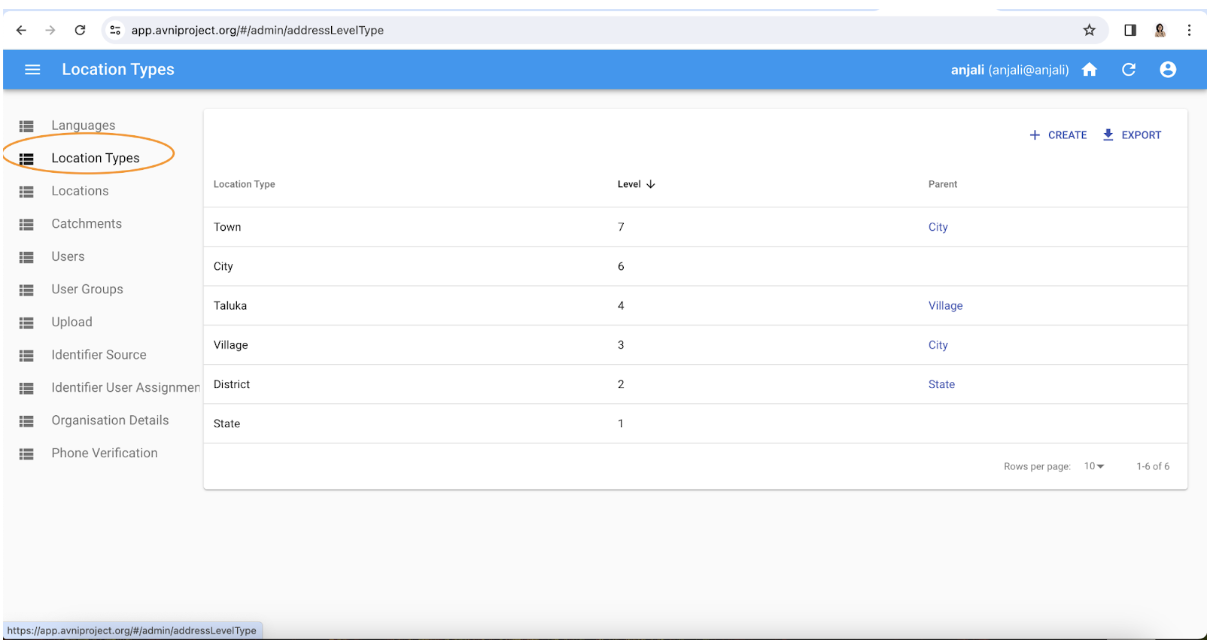
- Click on Location Type
Location types should be configured in descending manner. starting from Country/State should be the highest level and block or village should be the lowest location level(level:1). (ex. State>District>Taluk>Village>Block>)
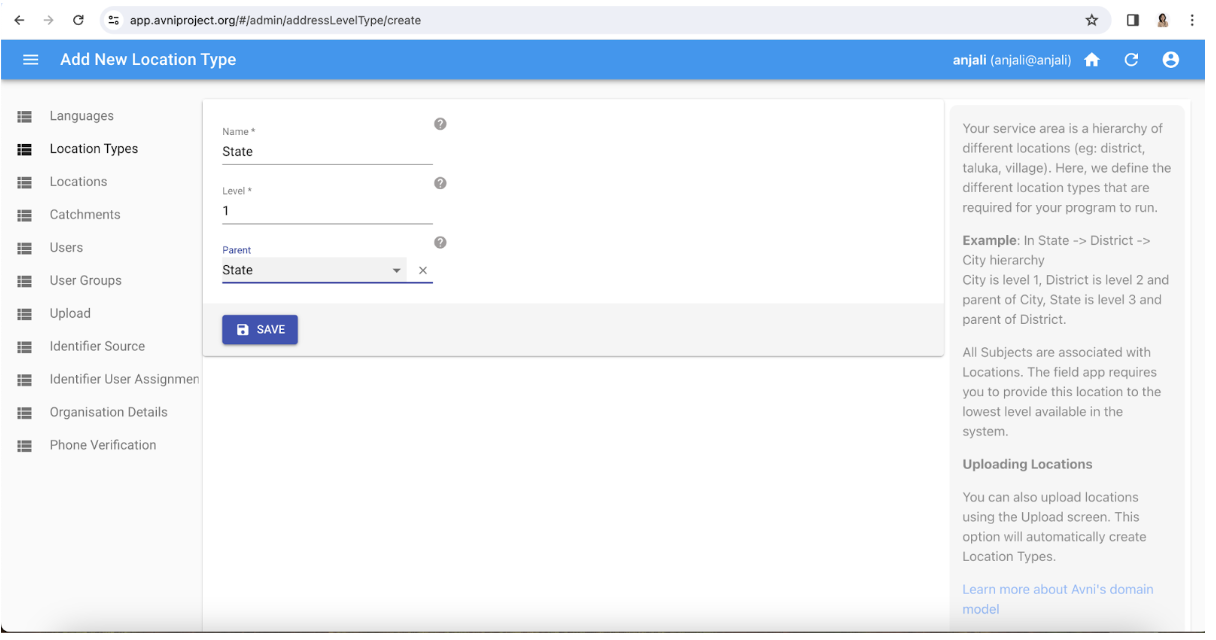
- Click on CREATE button on the top right corner
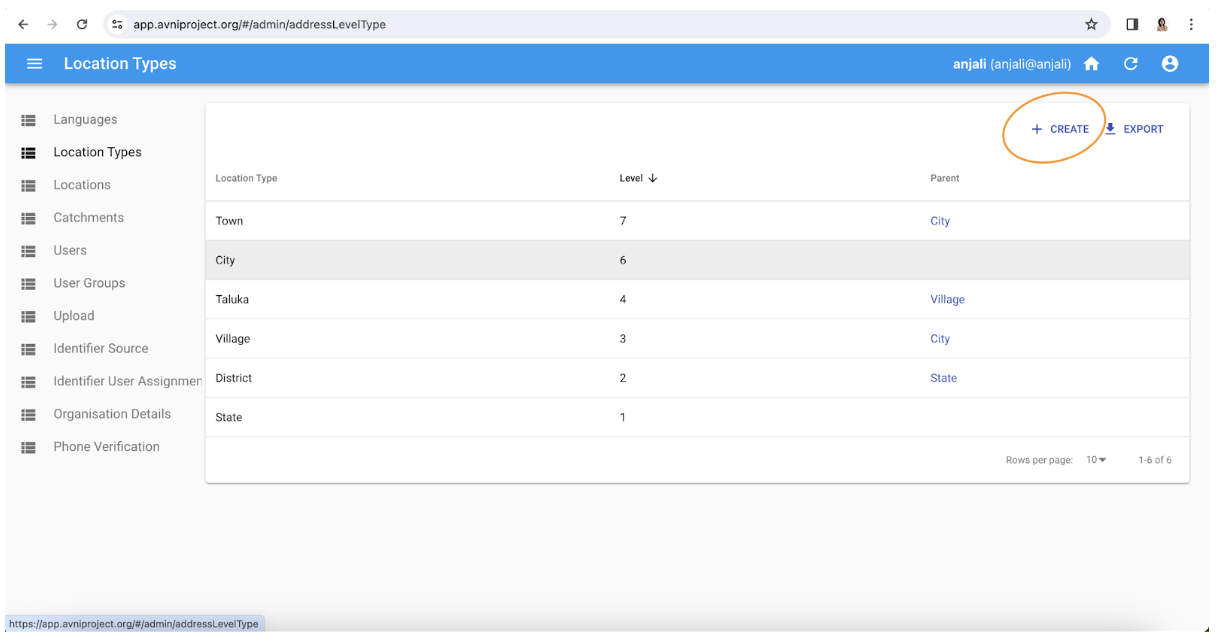
- Enter the Name, Level and Parent details
-
Post the Location Types are defined, the next step is to create User Locations.
6a. Avni team member adds a worksheet to the Location Master google doc in the following format
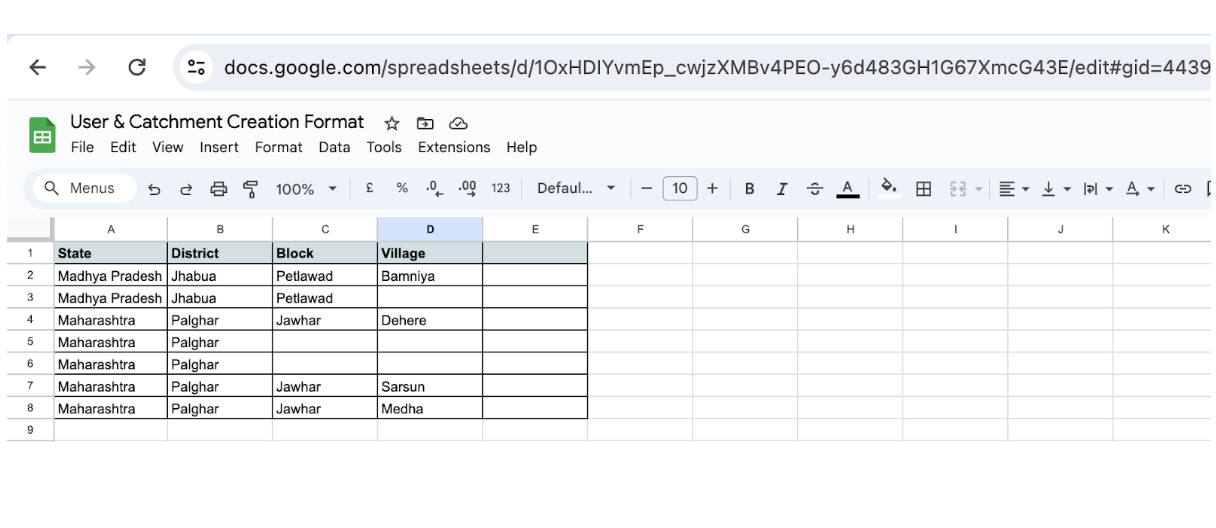
The Format for creating Users & Catchments can be taken from the below link:
https://docs.google.com/spreadsheets/d/1OxHDIYvmEp_cwjzXMBv4PEO-y6d483GH1G67XmcG43E/edit#gid=443914966
6b. Project team fills details in the google sheet
- After the Project team fills the Location details, they need to download the excel in the CSV format and uploaded in the “Upload” tab in the Admin section
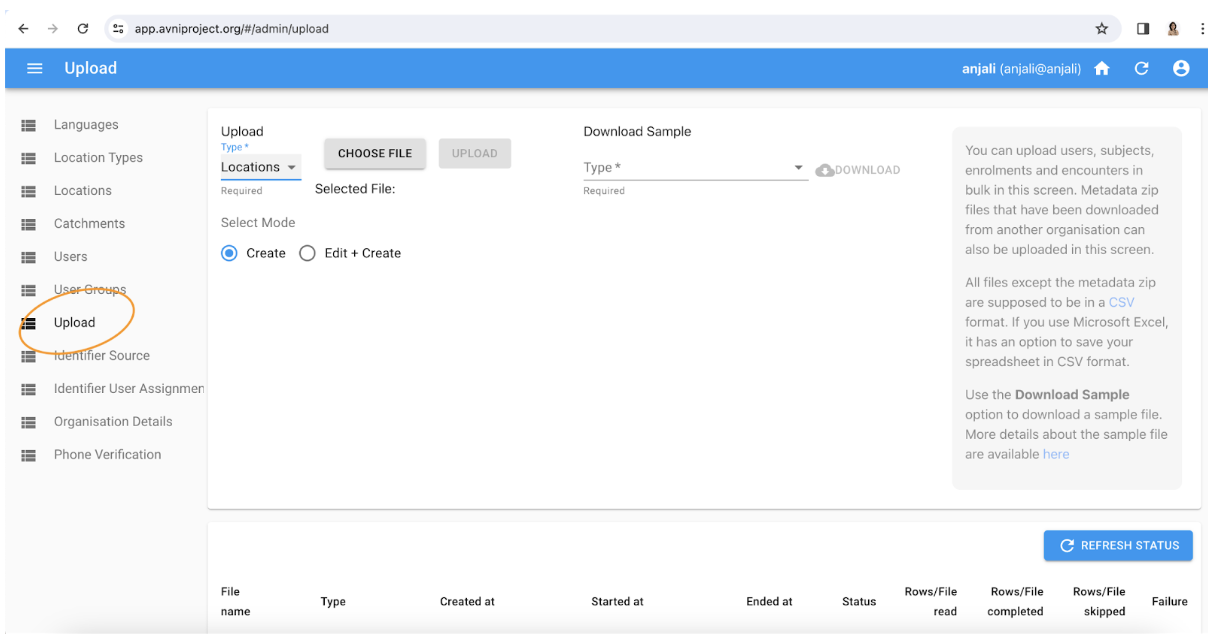
- Post uploading the CSV, the locations can be verified in the Location Tab
Updated about 1 month ago